Exposing Kubernetes Services through Cloudflare Tunnels
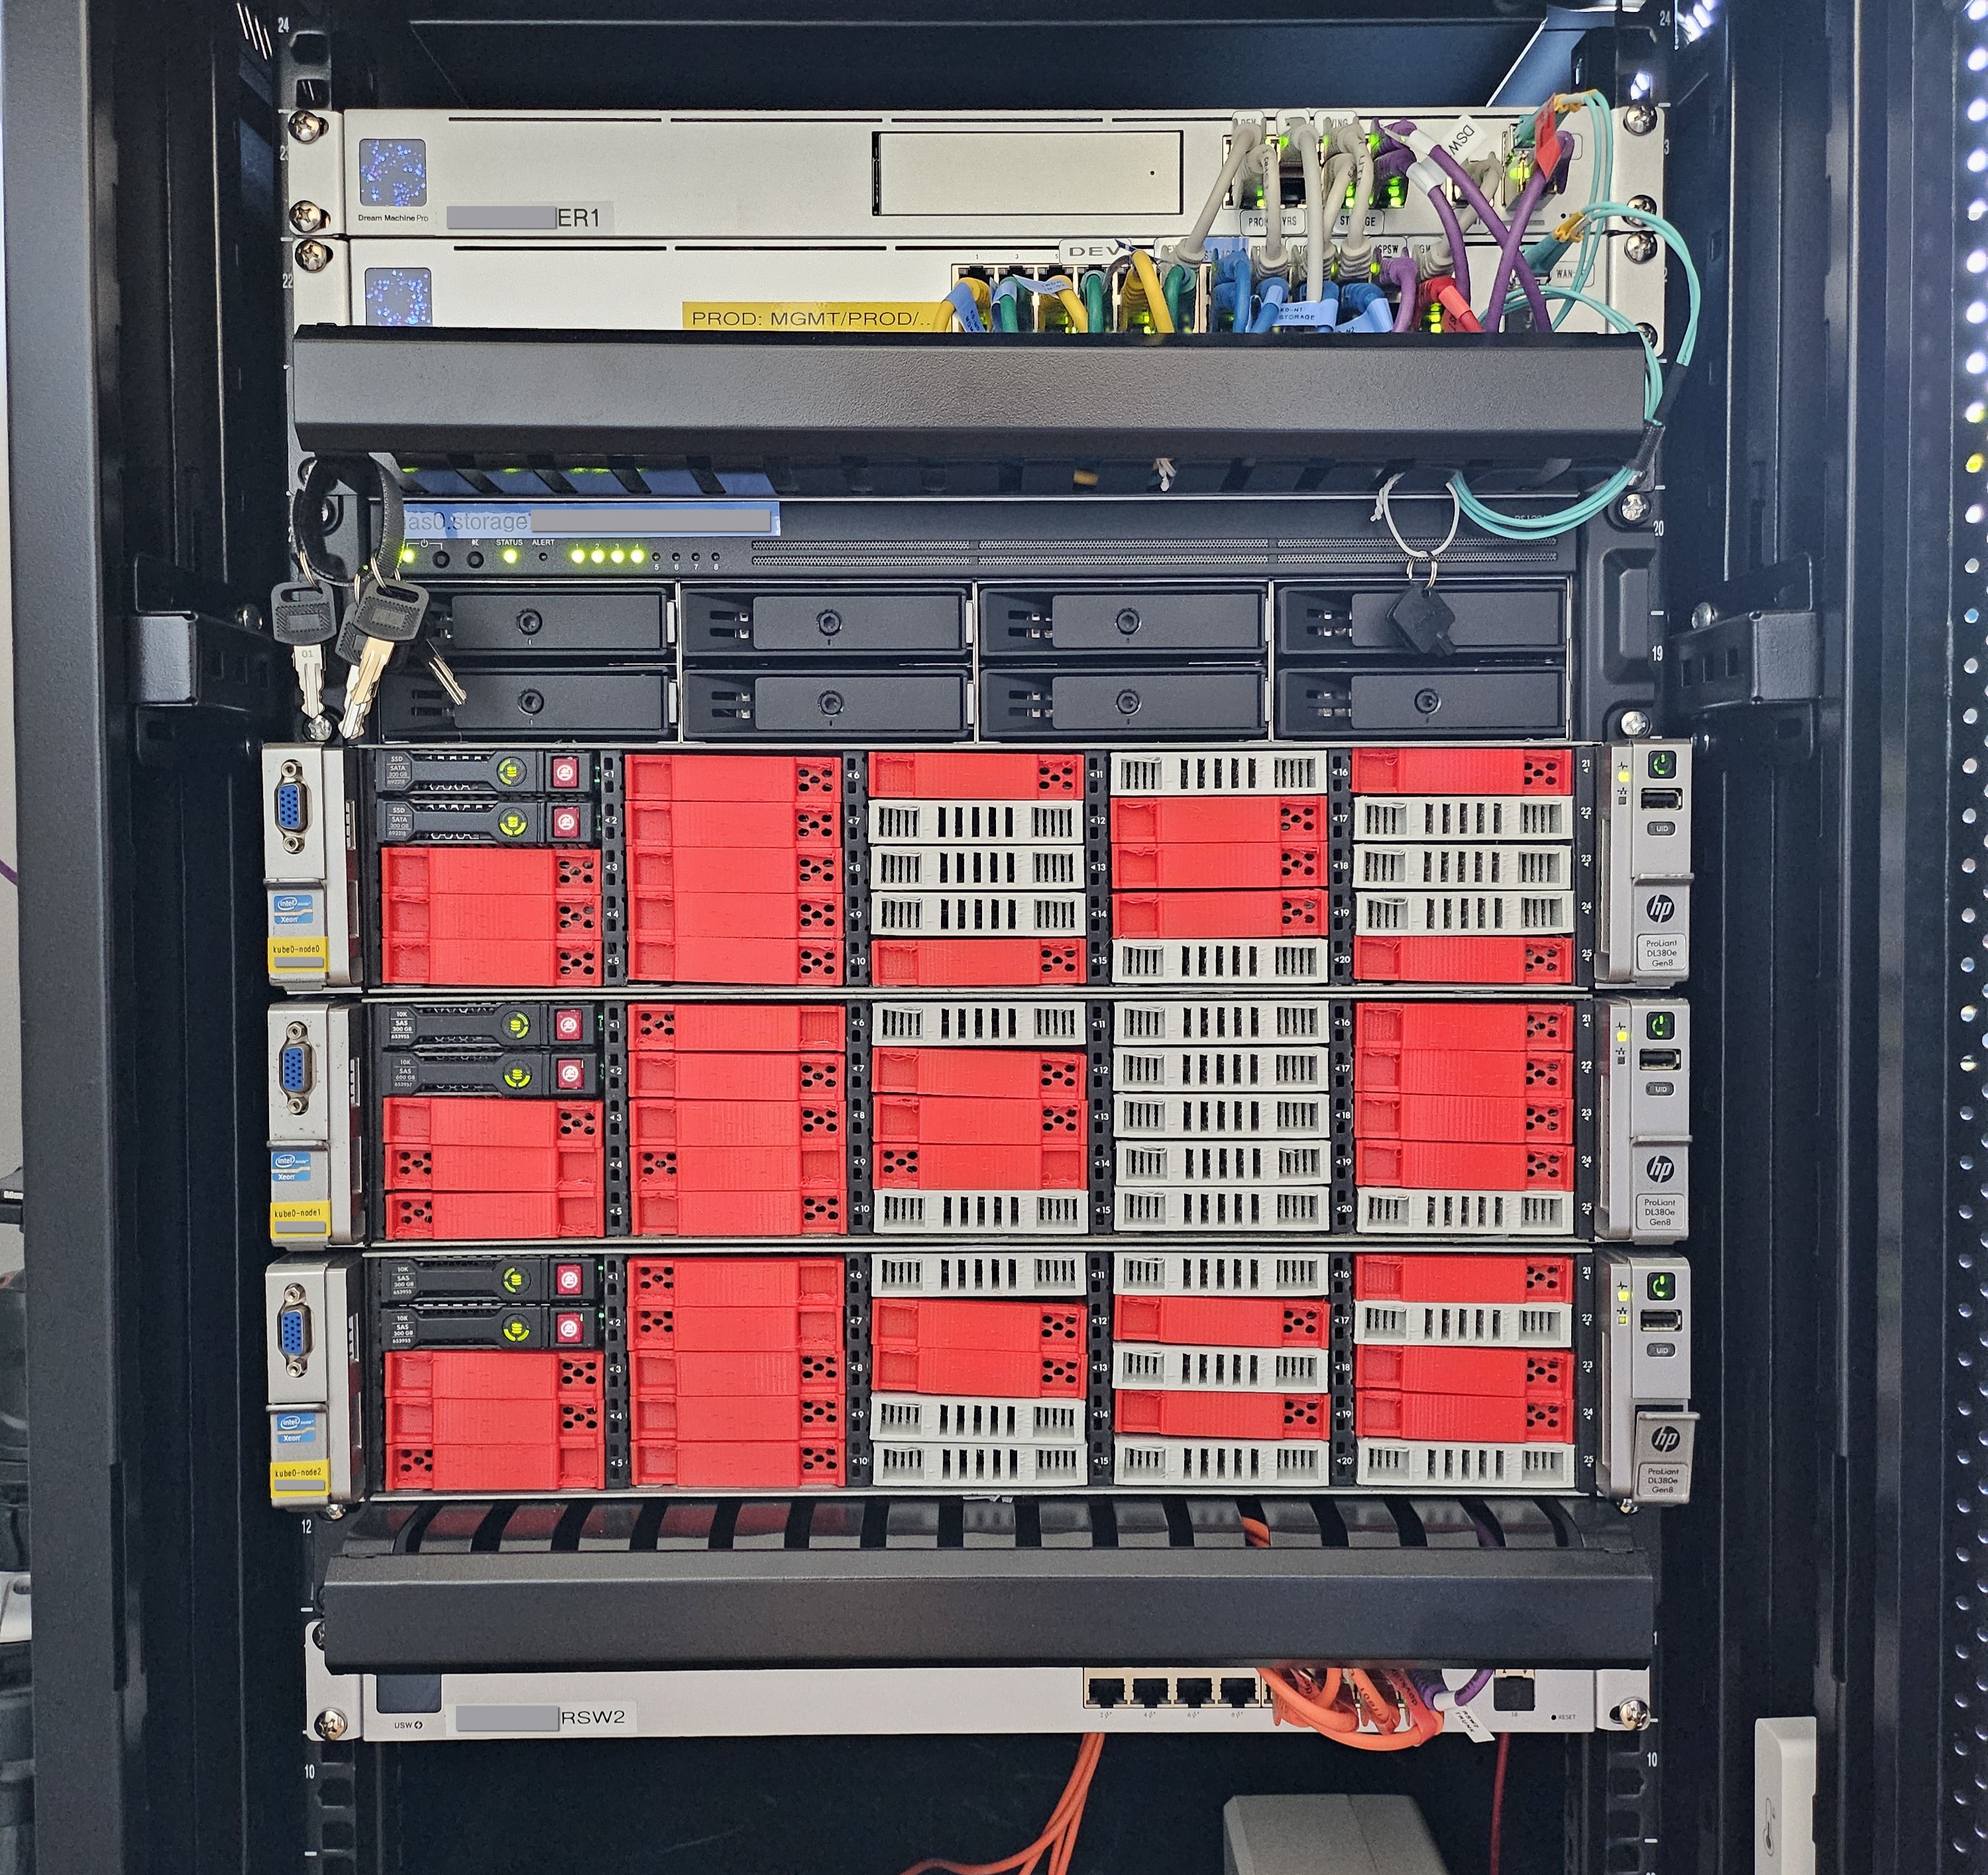
The “infrastructure” behind this site has come a long way since I first wrote about it almost exactly 5 years ago. The Dell Optiplex desktop PCs have been replaced with HP DL380 rackmount servers (albeit like the Dells, second-hand - reconditioned server gear really is the bargain basement way into building a ‘proper’ development environemt,) I have an iSCSI SAN providing storage instead of just NFS mounts, and there is even a Disaster Recovery cluster over on another continent…
…albeit, in the same spirit as the original cluster, the Disaster Recovery environment is a single Intel NUC 15 and a desktop NAS, both hanging off a domestic Bangkok fibre broadband connection - with a UniFi Site Magic VPN connecting it with home.
What hasn’t changed though is the way I expose workloads to the Internet - via
Cloudflare Tunnels. The exact details have been updated a bit over time though,
and I think it’s worth writing down how I use cloudflared and an ever-so-slightly
customised ingress-nginx deployment to make exposing standard Kubernetes
services to the public Internet trivially easy.
The old…⌗
When I originally described how to use Cloudflare tunnels to expose services, they weren’t even called Cloudflare Tunnels - at that time, it was known as Argo Tunnel, and one of the things that made it so simple was that Cloudflare provided their own Ingress controller that automated almost everything.
Alas, for I’m sure good reasons (unnecessary complexity if nothing else,) Cloudflare
dropped the development of their custom Ingress class not long after, but it
was still relatively easy to expose services by simply packaging up a
container running cloudflared alongside your workloads.
…via a brief hiatus…⌗
Since that way of doing things still works just fine, I might as well describe it here; it’s the way I’ve exposed all my various services (which is, I hasten to add, rather more than just this website that nobody reads) for the last 4 years or so.
Essentially, it relies on running cloudflared
in its own container alongside the services you want to expose. cloudflared
is a simple daemon that essentially creates a reliable VPN between the machine
it is running on and Cloudflare’s infrastructure, and then forwards requests
from Cloudflare endpoints through the tunnel to whatever endpoint you specify
on your local network. When running inside the Kubernetes environment, that
means you can run a cloudflared instance in its own pod, and tell it to
forward requests to any other Kubernetes Service in the same namespace.
Helpfully, Cloudflare already provide a Docker image suitable for our needs, so we don’t even need to build our own. That means setup and deployment is trivial.
Firstly, we need to create the tunnel; we can do this from the commandline
of any machine with cloudflared installed (you will first need to login with
cloudflared login:)
cloudflared tunnel create my-tunnel-name
cloudflared tunnel route dns my-tunnel-name dns-entry-to-route.mydomain.com
This will create the tunnel, and also tell Cloudflare to put in a DNS entry
that points to the tunnel. Any requests to that endpoint on Cloudflare will
be routed through the tunnel into your infrastructure. Note that tunnel create
only creates the information describing the tunnel in the Cloudflare infrastructure,
no tunnel will actually be running until you have a client cloudflared instance
configured to connect to it. That’s the part that will run in a pod in our
Kubernetes environment.
The client depends on public/private keypair that is set up by the tunnel create
command. Our cloudflared in Kubernetes is going to need its half of the
keypair to be able to connect, and to do that we are going to install it as
a secret. We can use the cloudflared tunnel token command to extract it
and then create a suitable Secret object; I wrote a very simple script
to do the job as part of my automated deployments:
#!/bin/bash
#
# USAGE:
#   script.sh <K8s-Namespace> <Cloudflare-Tunnel-Name> <K8s-Secret-Name>
#
TMPNAME=`mktemp -u`
NAMESPACE=$1
TUNNELNAME=$2
SECRETNAME=$3

TUNNELID=`cloudflared tunnel list --name ${TUNNELNAME} -o json | jq -r '.[0].id'`

cloudflared tunnel token --cred-file ${TMPNAME}.tunnelcred ${TUNNELNAME}

cat <<EOF > ${TMPNAME}.tunnelsecret.yaml
apiVersion: v1
kind: Secret
metadata:
  name: ${SECRETNAME}
  namespace: ${NAMESPACE}
type: Opaque
stringData:
  ${TUNNELID}.json: |
    `cat ${TMPNAME}.tunnelcred`
  cert.pem: |
EOF

kubectl apply -f ${TMPNAME}.tunnelsecret.yaml || true

rm -f ${TMPNAME}.tunnelsecret.yaml
rm -f ${TMPNAME}.tunnelcred
Using this script we can upload the secret like so:
./script.sh my-website my-tunnel-name my-tunnel-name-secret
Once we have the secret uploaded, creating the Deployment that will expose
our internal service via the Cloudflare tunnel is as simple as this:
apiVersion: apps/v1
kind: Deployment
metadata:
  name: my-website-tunnel
  namespace: my-website
spec:
  replicas: 2
  selector:
    matchLabels:
      app: cloudflared
  template:
    metadata:
      labels:
        app: cloudflared
    spec:
      containers:
      - name: cloudflared
        image: cloudflare/cloudflared:2025.2.0
        args: [ "tunnel", "--no-autoupdate", "run", "--url", "my-internal-service.my-website", "<MY-TUNNEL-ID>" ]
        volumeMounts:
        - name: cloudflared-config
          mountPath: /etc/cloudflared
          readOnly: true
      volumes:
      - name: cloudflared-config
        secret:
          secretName: my-tunnel-name-secret
(Note that you will need to insert the ID of your tunnel where indicated, which you can get from
cloudflared tunnel list.)
One kubectl apply -f later, and you should be golden!
So, job done right? Well, for quite a long time, yes it was - and this approach still works just as well today as it did 4 years ago.
There’s just one problem; as the number of services I wanted to expose increased, I had an increasing number of tunnels running; particularly when I then wanted to double some of them by deploying to my DR cluster as well. There is nothing fundamentally wrong with it, but it just seems a little inelegant. Also, managing all those secrets started to become a bit of a pain, complicating the deployment of simple services.
The old custom Ingress approach just seemed slightly cleaner… So this
week I finally set about working out how to do this better.
…Will become New Again⌗
The solution - deploy a new Ingress class that will automatically route
to Cloudflare, just like the old Argo Tunnel ingress.
But this time, instead of using a special custom Ingress, we’ll just use the
tried and tested ingress-nginx controller.
The only wrinkle that we need to resolve here is that I don’t want this to
be my default ingress; I already have an ingress-nginx running which
exposes services on my local network; I certainly don’t want all of them
exposed to the Internet automatically.
So what we need to do is install a second ingress controller, that will be
independent of the default nginx class. We’ll also put it in its own
namespace, and in that namespace we’ll deploy an instance of cloudflared that
points to our new ingress’s Service. That way, we can choose when we make
a deployment whether we want it to be exposed only to the internal network,
or instead via Cloudflare to the Internet, just by changing the ingressClassName
in our service’s Ingress deployment manifest.
As well as simplifying the deployment of services we want to expose, this then
has the big advantage that the only cloudflared instances we now need to run
are the ones exposing the Ingress controller, and not a separate one for
every service. In the ‘frontend’ we can then simply add CNAME DNS records,
for each of the services we expose, that point to the ingress.
Deploying the second ingress is as simple as this:
helm upgrade --install cloudflare-nginx ingress-nginx \
  --repo https://kubernetes.github.io/ingress-nginx \
  --namespace cloudflare-ingress --create-namespace \
  --values values.yaml
Important note - the ingress-nginx Helm chart uses the deployment name (in
this case, cloudflare-nginx) to name the RBAC objects it creates. Make sure
you use a different deployment name from any existing ingress deployments, even
if in a different namespace (since RBAC entities aren’t namespaced.)
The values.yaml we provide is going to customise the deployment so that our
new ingress controller is looking for entities with a different ingressClassName
from the default controller, like so:
controller:
  ingressClassResource:
    name: cloudflare
    controllerValue: k8s.io/cloudflare-ingress-nginx
  ingressClass: cloudflare
Once the Ingress controller is deployed, you can now create the cloudflared
pod that will route requests from Cloudflare to the new controller. The
approach is exactly as described earlier, but this time we put the deployment
in the new ingress’s namespace, not our individual services we want to expose:
apiVersion: apps/v1
kind: Deployment
metadata:
  name: ingress-cloudflared
  namespace: cloudflare-ingress
  labels:
    app: cloudflared
spec:
  replicas: 2
  selector:
    matchLabels:
      app: cloudflared
  template:
    metadata:
      labels:
        app: cloudflared
    spec:
      containers:
      - name: cloudflared
        image: cloudflare/cloudflared:2025.5.0
        args: [ "tunnel", "--no-autoupdate", "run", "--url", "cloudflare-nginx-ingress-nginx-controller.cloudflare-ingress:80", "<TUNNEL_ID>" ]
        volumeMounts:
        - name: cloudflared-config
          mountPath: /etc/cloudflared
          readOnly: true
      volumes:
      - name: cloudflared-config
        secret:
          secretName: cloudflare-ingress-tunnel-secret
And that - apart from actually creating the tunnel & secret, exactly as before -
is pretty much it. Exposing a service deployed in your cluster is now as simple
as using a standard Ingress manifest, but changing the className from nginx
to cloudflare:
apiVersion: v1
kind: Service
metadata:
  name: snowgoons-site
  namespace: websites
spec:
  selector:
    app: httpd
    site: snowgoons
  ports:
  - name: http
    protocol: "TCP"
    port: 80
    targetPort: 80
  type: ClusterIP
---
apiVersion: networking.k8s.io/v1
kind: Ingress
metadata:
  name: snowgoons-ingress
  namespace: websites
spec:
  ingressClassName: cloudflare
  rules:
    - host: snowgoons.ro
      http:
        paths:
          - path: /
            pathType: Prefix
            backend:
              service:
                name: snowgoons-site
                port:
                  number: 80
    - host: www.snowgoons.ro
      http:
        paths:
          - path: /
            pathType: Prefix
            backend:
              service:
                name: snowgoons-site
                port:
                  number: 80
One more thing…⌗
You might have noticed that in those deployments, I’m only using port 80. But isn’t that insecure, you say? Fortunately not; because, lest we forget, the traffic between Cloudflare and our internal service is routed over the encrypted secure tunnel. So one other advantage of this approach is we can forget about TLS management for the services we expose to the Internet, and let Cloudflare handle that for us through their Universal SSL service at the edge.
Wrapping Up⌗
I write these things mostly for my own memory, but there were a couple of tricksy things in there that it took me a while to figure out, so I hope this might be helpful to someone.
It is worth adding, I did have one small ulterior motive for switching to this Ingress based approach to using Cloudflare tunels; that being, Disaster Recovery. Cloudflare offer a global load balancing service that is incredibly good value, but it is limited in the number of backend endpoints you can configure for each load balancer; so having multiple different endpoints for every service would mean setting up separate load balancers for each of them, which is not so cost-effective. This ingress based approach means I can have a single endpoint for each Kubernetes cluster that I want to put behind the global load balancer - so it may be that my next post here will be a brief explainer on how to deliver global, Active-Active load balancing and DR for just $5/month. It really is surprisingly simple!