Finally, a Working Atmega4809 Debugger
Support for the ATmega4809 is absolutely woeful anywhere outside Microchip’s own Microchip Studio toolchain. Debuggers don’t support it, simulators won’t simulate it, basically all the tooling you might expect to work if you’ve programmed any of the more common AVR chips will be busted.
This is a real shame. The ‘4809 is a really nice chip, capable, lots of flash storage, and in a nice form factor for hobbyists - especially when packaged up as the Arduino Nano Every. It feels like Microchip really don’t want anyone to develop for it, though…
One of the biggest problems is finding any working toolchain for debugging. I’m on holiday at the moment, so I’m just going to cut to the chase - I’ve found this set of tools to work, maybe you will too.
A Working Debugger Interface⌗
Long story short: Bloom! Bloom is a relatively
new open-source project from Nav - and, it
actually works with the ‘4809!:
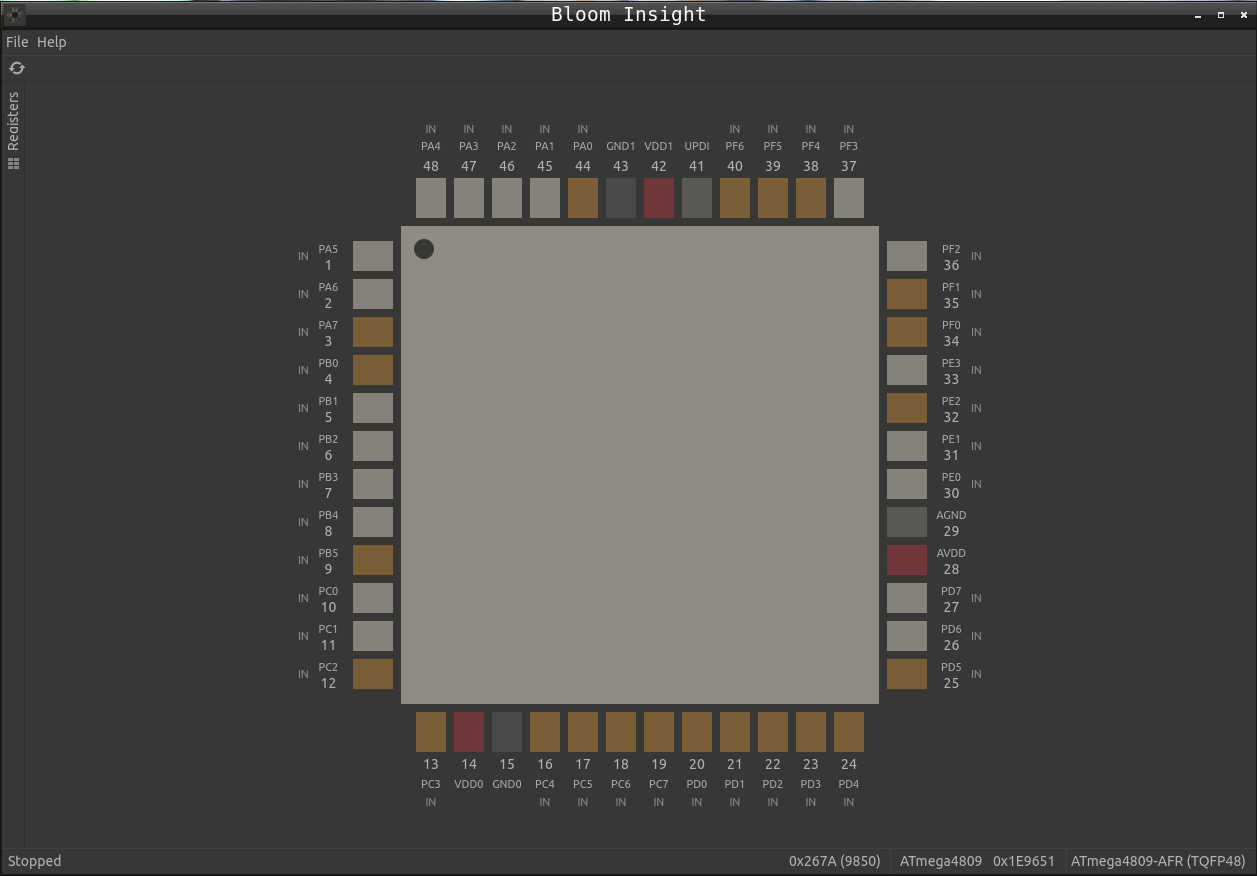
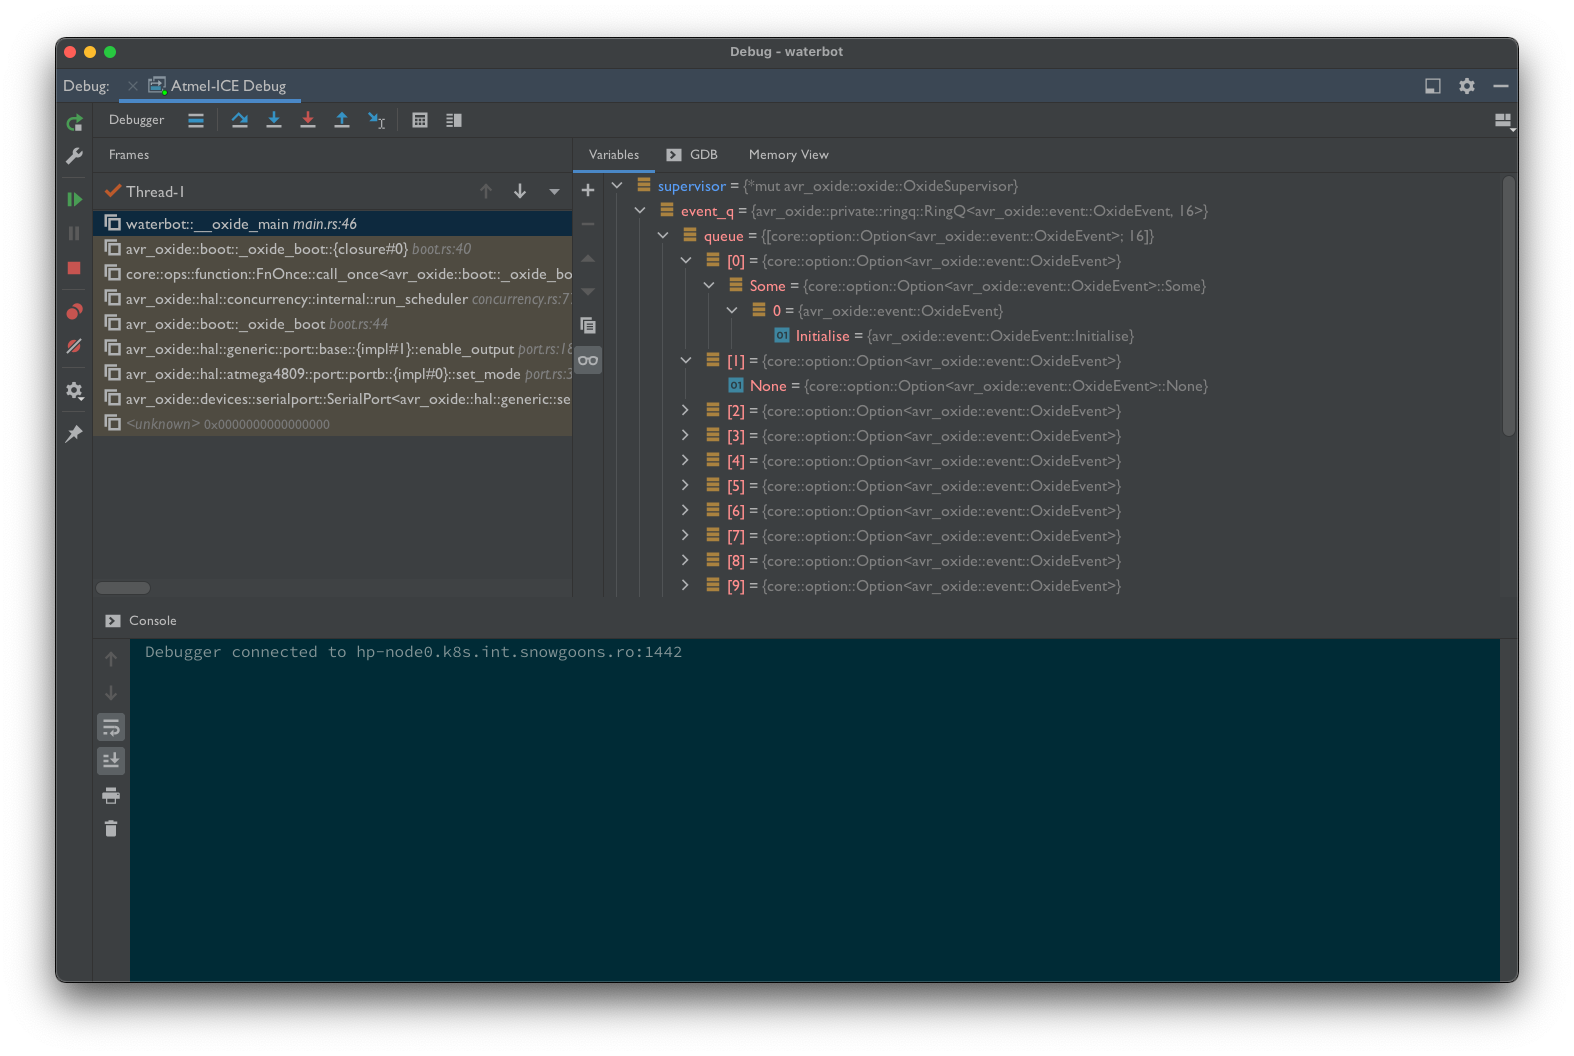
Bloom exposes a GDB remote target, so once it is up and running with your
hardware in-circuit emulator/debugging host, you can connect GDB up as with
any other remote host:
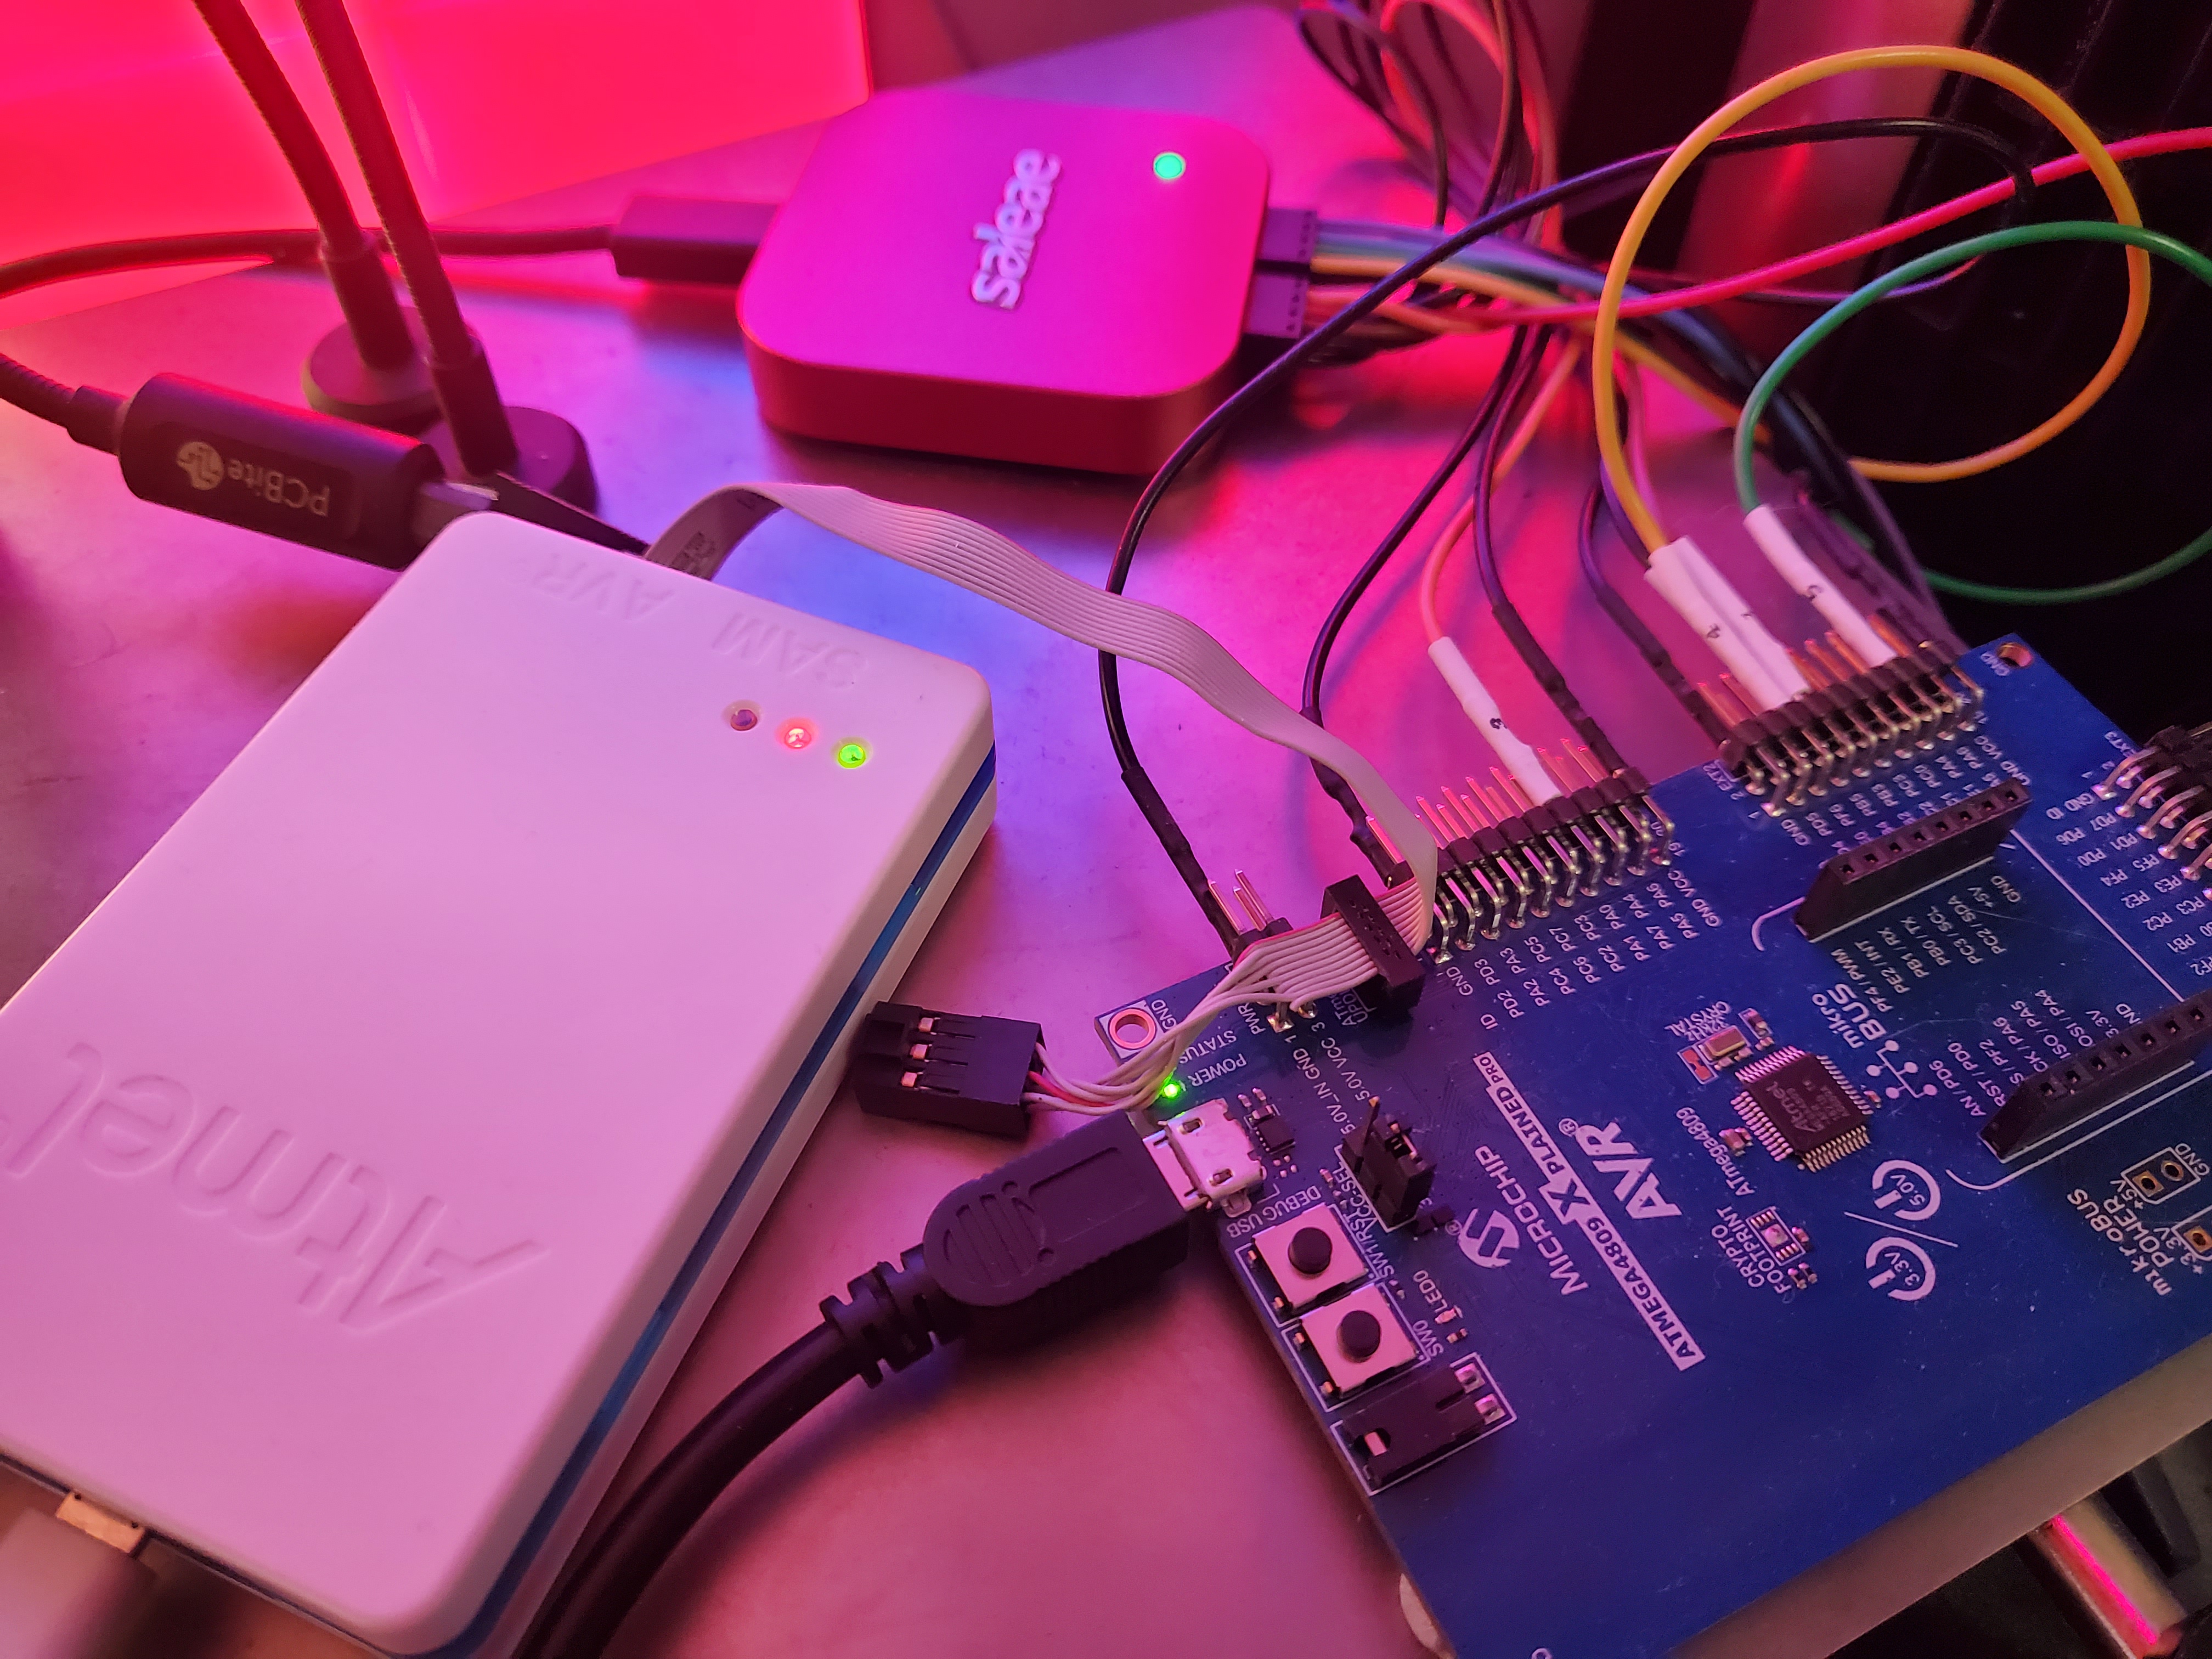
The Hardware⌗
The hardware which I am using, and which works well with Bloom, is Microchip’s own Atmel-ICE, a relatively inexpensive piece of kit that you can use to hook up to any ATmega device with a JTAG, debugWire, or UPDI interface. Critically, that includes our ATmega4809’s UPDI interface.
You should be able to hook the Atmel-ICE up to any hardware board that exposes the UPDI pin of the ‘4809. Unfortunately, that does not include the Arduino Nano Every (because why would life be that simple?) Actually, in theory you can get to it via the pogo pads on the bottom of the board, but I’ve not actually tried that yet… Rather, I’m using the Microchip ATmega4809 Xplained Pro evaluation board, which helpfully exposes the UPDI port on a header that will plug straight into your Atmel-ICE.
Programming the ATmega4809⌗
Of course, you will need to be able to program your chip. The Atmel-ICE can
also be used to do this, although you’ll need the avrdude tool to do so.
Fortunately, avrdude is one of those rare tools that can understand the
‘4809 and also its UPDI programming interface - you just need to ensure
you specify the part (-p) and programming interface (-c) on the commandline:
avrdude -patmega4809 -catmelice_updi
Update: Which client GDB should I use?⌗
Obviously, you will want to use avr-gdb as the client for your application.
The avr-gdb that is shipped with the Atmel toolchain is hopelessly out of
date, however - being version 7.8 - and doesn’t work with Bloom.
Look for a more recent build of avr-gdb in your operating system’s
package manager.
A special note for Mac users⌗
The version of avr-gdb installed using [Homebrew] is 10.1, and on the face
of it looks like it should work. And if you install it today, in fact it
does work perfectly!
However, at one point the build in Homebrew was broken, the symptoms of which would be an error when you started debugging:
I’m sorry, Dave, I can’t do that. Symbol format `elf32-avr’ unknown.
If you get this error, re-install avr-gdb using:
brew reinstall avr-gdb
Note that when the Homebrew maintainers fixed the formula, they did not
update the version number, so a simple brew upgrade will not fix the problem
if you have the broken version of the formula installed.
Thanks to Nebel of Arduino Craft Corner for explaining and fixing this issue.